Deploy WordPress Plugins Using Github Actions
Using automation makes your current life easier by taking tasks off your hands; plus makes your future life easier by documenting a repeatable process. I recently automated the publishing of my code-syntax-block plugin to the WordPress repository using the Github Action created by 10up.
What are Github Actions
First, Github Actions allow you to hook into events that happen in your repository and call an action for that event; this is a workflow. For example, when code is committed start a build, test, or deploy.
Workflows are defined in a file that you commit to your repository. Github will look in the .github/workflows directory, in this case we will create a main.yml file that defines the trigger and action. Github Actions support community sharing of workflows so you don't have to create everything yourself, exactly what I'm doing using the 10up deploy action.
Preparing your Repository
I converted an existing plugin already setup with Github and WordPress.org repositories to use the Github Action to deploy. My local setup was one folder for the main Github repository and a secondary folder with the dotorg subversion repository. I had a Makefile script that copied the files from the Github folder to subversion; then deployments require going to each folder to commit.
To prepare, first I had to gather all the files into the single Github repository.
I copied the assets — the banner, icon, and screenshot files needed for the plugin listing — to the default location, a new folder .wordpress-org created at the top level of the repository.
One thing I forgot to copy was the readme.txt for the plugin, this is placed at the top-level of the repository, not in the assets folder.
I created a .distignore file that includes everything in my repository that I do not want to include in the plugin. This includes my src directory and all the miscellaneous files that aren't needed in WordPress, see .distignore for my exact entries.
So the new files after setup:
.wordpress-org/banner-1544x500.png
.wordpress-org/banner-772x250.png
.wordpress-org/icon-128x128.png
.wordpress-org/icon-256x256.png
.wordpress-org/screenshot-1.png
.wordpress-org/screenshot-2.png
.distignore
readme.txt
Create Github Action
The Github Action requires using your subversion username and password for committing to the WordPress SVN repository. To allow access — without revealing to the public, the action uses the Secrets variables. I created two secrets, SVN_USERNAME and SVN_PASSWORD.
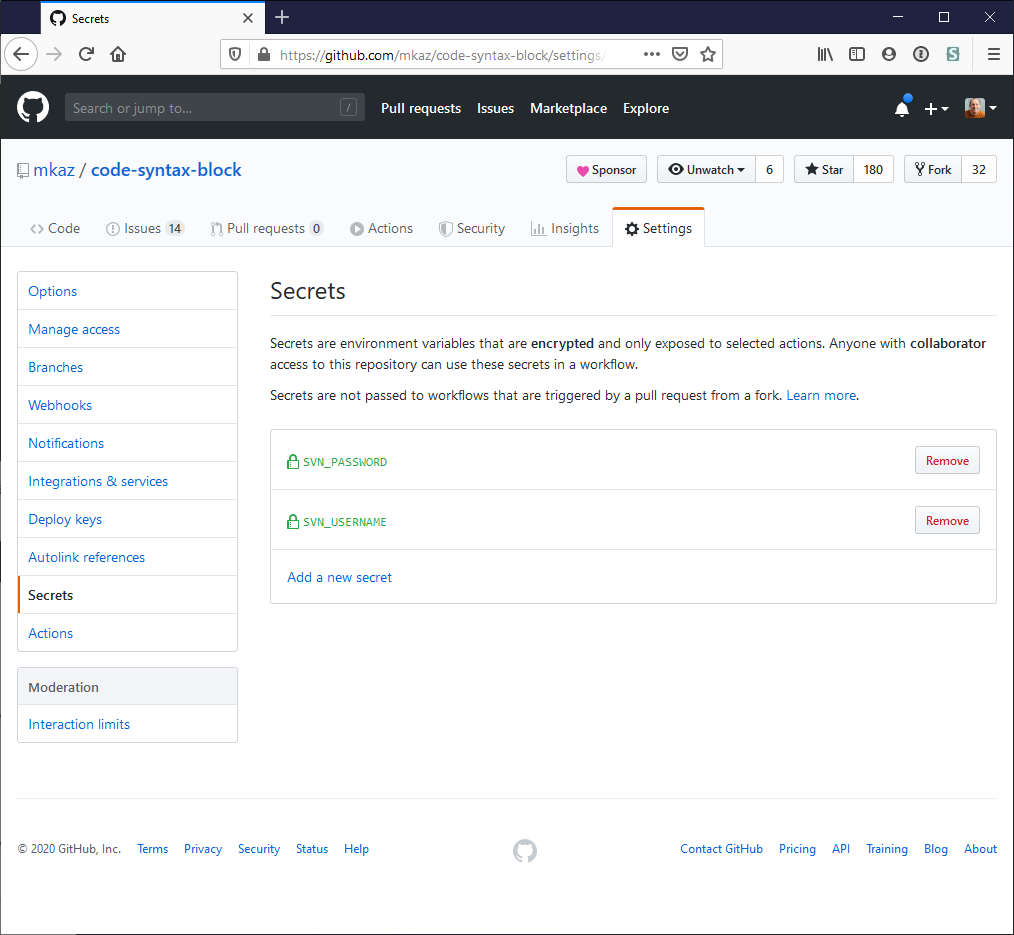
Settings - Secrets
The next step is to make sure you have Github Actions enabled for your repository. This is also done in the repository settings; mine already had the "Enable local and third party Actions for this repository" checked so I didn't have to make any changes.
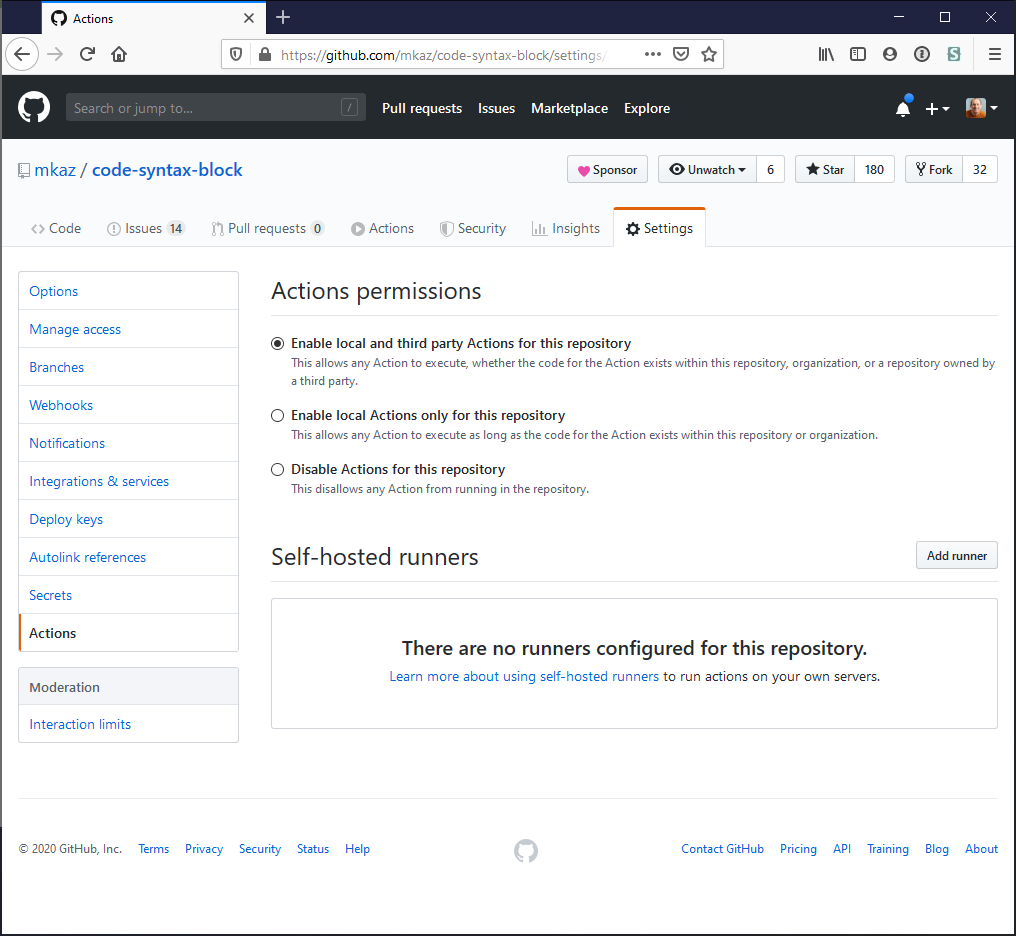
Settings - Actions
Finally, the last part is to create a new folder and add the action file. As mentioned at the top, I created a .github/workflows/ folder and added a main.yml with the following content:
name: Deploy to WordPress.org
on:
    push:
        tags:
            - "*"
jobs:
    tag:
        name: New tag
        runs-on: ubuntu-latest
        steps:
            - uses: actions/checkout@master
            - name: Build
              run: |
                  npm install
                  npm run build
            - name: WordPress Plugin Deploy
              uses: 10up/action-wordpress-plugin-deploy@master
              env:
                  SVN_PASSWORD: ${{ secrets.SVN_PASSWORD }}
                  SVN_USERNAME: ${{ secrets.SVN_USERNAME }}
                  SLUG: code-syntax-block
The workflow defines what steps to run: it will boot up a virtual machine running Ubuntu, checkout the latest code from master, build the code, and then run the action script from 10up that handles the deployment using the environment variables.
Publishing to WordPress
With all of the above in place — committed, and pushed up to the Github repository — making a new release requires only creating a new tag and publishing.
Step 1: Each time I want to publish a new version of my plugin, I make all my changes, test everything is fine, and commit all the updates to the master branch.
Step 2: To create a release, I go to the "Releases" tab in the Github repository and create a new tag with the next version number. When the release is published, the action will be triggered and automatically push up the change to the WordPress plugin repository.
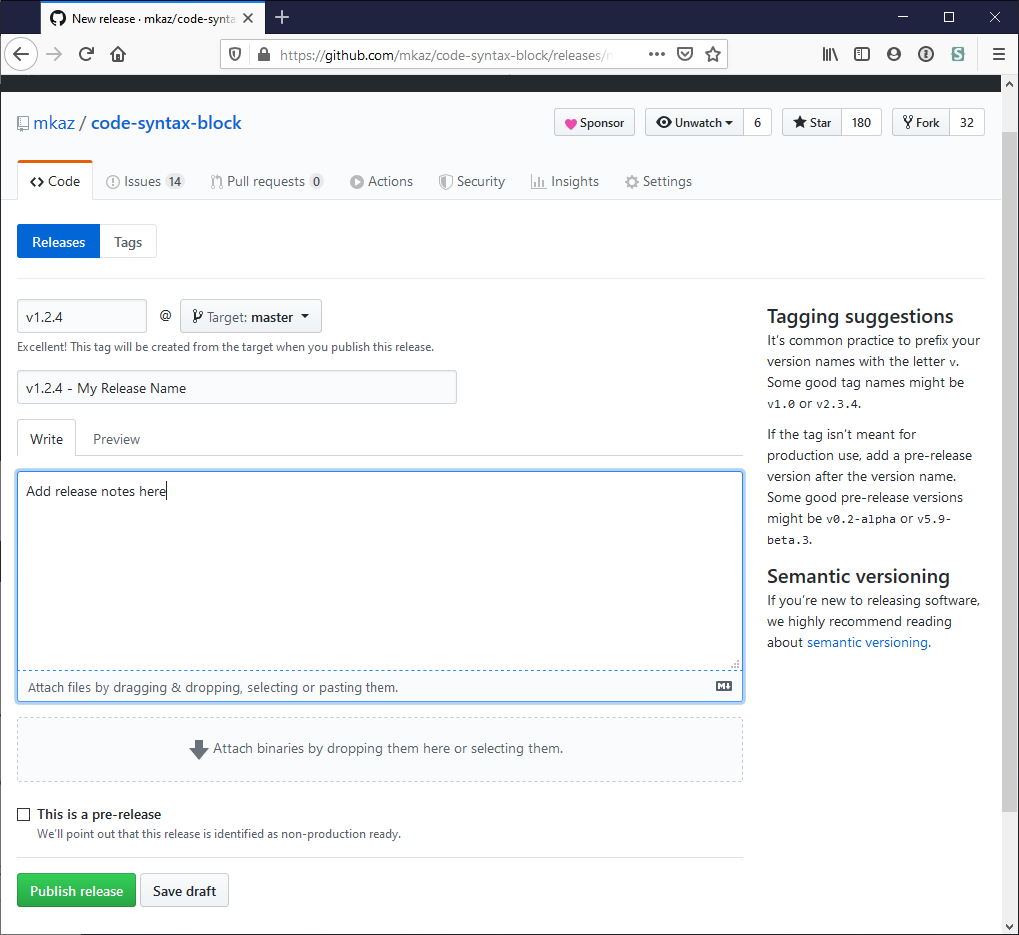
Releases
Summary
I'm quite happy with the process, it makes it so much easier to publish. Previously I've skipped minor releases because I had to do the extra steps, and I had to remind myself where I set things up — now with it all automated it's much easier.
Thanks to Helen Hou-Sandi and @10up for creating and open-sourcing the action. 👏